Ashmolean Museum

Ashmolean Museum - (1 of 1)

February 2024 - one of the main passenger lifts is out of service awaiting repair. For accessible routes to the Colour Revolution exhibition and our Rooftop Restaurant please ask for the Visitor Experience team when you visit. We apologise for any inconvenience.

  • Stepped and ramped access main entrance
  • Powered entrance door as well as revolving door
  • Manual wheelchairs available for loan - ask a member of staff if you would like to use one 
  • Lift access to all floors. Several passenger lifts throughout the museum - there can be queues at busy times
  • Step free access to most areas of the museum
  • Platform lift access to Cast Gallery
  • Stepped access only to Print Room
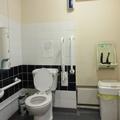
  • 2 accessible toilets at basement level
  • 1 accessible toilet in between second and third floor - there is lift access
  • 1 accessible toilet on the third floor near the restaurant
  • Induction loop on the main Information Desk
  • Induction loop in the Headley Lecture Theatre

This table contains summary information about the building

On-site designated parking for Blue Badge holders No
Public designated parking for Blue Badge holders within 200m Yes - several spaces on Beaumont Street
Other nearby parking Yes - pay and display
Main entrance Stepped and ramped access. Powered door
Alternative entrance No
Wheelchair accessible toilets 4
Lift Yes - all floors
Hearing support systems Yes - loop at Information Desk and in lecture theatre 
Google Maps
https://www.google.com/maps/embed?pb=!1m18!1m12!1m3!1d2469.771363031215!2d-1.2625667484776586!3d51.75550427957686!2m3!1f0!2f0!3f0!3m2!1i1024!2i768!4f13.1!3m3!1m2!1s0x4876c6a5dc2f123d%3A0xda551a5009b48f02!2sAshmolean%20Museum%20of%20Art%20and%20Archaeology%2C%20Oxford%20OX1%202PH!5e0!3m2!1sen!2suk!4v1664445626868!5m2!1sen!2suk
University Map
https://maps.ox.ac.uk/bd821e30-d8ba-11eb-a363-059e537832a1/search/projects/23/5da6eb323ac1ce0077dc7463?instance=iframe_small
Floor plans

Follow the link to view a floor plan of the building showing level access routes: 


Expand All

There are nine designated Blue Badge parking spaces within easy reach of the museum: three spaces directly outside the museum, three more opposite the museum close to the Randolph Hotel, two spaces on St Giles' and one space on St John's Street. These are available on a first-come, first-serve basis. There are also Pay and Display parking spaces on Beaumont Street and St Giles. 

Please click on the link below for a map of Blue Badge parking in central Oxford.


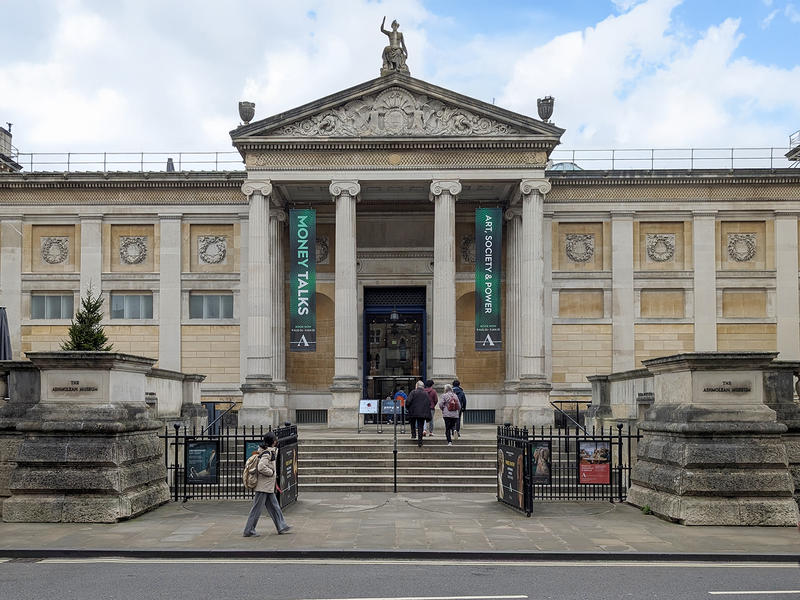
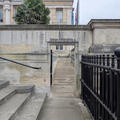
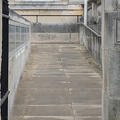
The museum is set back from the road, and reached via a wide flight of stone steps leading to a terrace. The steps have no nosings, but do have a handrail on either side and in the middle. For level access, there is a ramp available. Turn left at the bottom of the steps through the stone arch labelled ‘Ashmolean Museum’ and follow the ramp to the top. It is quite steep, but has a landing halfway and a handrail on the left-hand side.

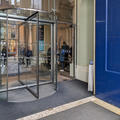
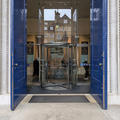
Once you have reached the top of the steps and the terrace, the main museum access is through a revolving door ahead and to your right. On both sides of the revolving door are standard powered doors which can be opened using the button on the right (right-hand door) or left (left-hand door).


Please click on the thumbnail below to enlarge:

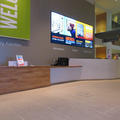
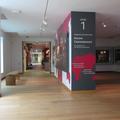
As you enter the museum, the information desk is straight ahead of you on the left-hand side. There is a reduced height section, and a fixed hearing loop system at either end of the desk. Large print guides for the special exhibitions are available here. 

The security desk on the St Giles entrance also functions as a reception although this is quite high up and has no reduced height section.


Please click on the thumbnail below to enlarge:

Accessible toilets

There are four accessible toilets in the building: two in the basement, one on the fourth floor, and one on an intermediate level between the third and fourth floor - confusingly this is also called the fourth floor!  

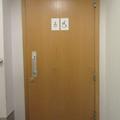
On the basement floor, one accessible toilet is just off the ‘Exploring the Past’ gallery.  The simplest way to get there will be to exit the blue lift, go through the ‘Ashmolean Story’ gallery (past the stairs), and the accessible toilet will be on your left hand side.  To reach the other accessible toilet in the basement, exit the yellow lift. The toilets are across the foyer opposite the café.

On the fourth floor, the accessible toilet is directly opposite the (blue) lift. 

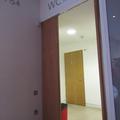
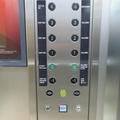
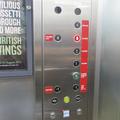
To reach the other accessible toilet use the blue lift. You will see that there are 2 sets of buttons. The buttons on the left are mainly marked 'Staff Only'. However, you will see that the '4' button has symbols for standard and accessible toilets as well as baby changing facilities (see photo below). Press the '4' button and make sure you exit the lift through the doors to your left (as you are looking at the buttons) - this will take you to the intermediate level between the third and fourth floors where the toilets are. 

Standard toilets

There are four sets of standard toilets (with baby changing facilities), one each on the third and fourth floors, and two in the basement.  On the basement and fourth floors, they are located in the same place as the accessible toilets (see the section below for details).  On the third floor, they are near to the entrance of the exhibition gallery. 


Please click on the thumbnail below to enlarge:

February 2024 - one of the main passenger lifts is out of service awaiting repair. For accessible routes to the Colour Revolution exhibition and our Rooftop Restaurant please ask for the Visitor Experience team when you visit. We apologise for any inconvenience.

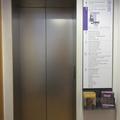
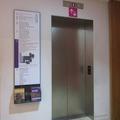
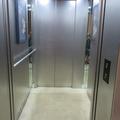
There are three main lifts in the building, all of which serve different floors, and these are colour coded to differentiate between them (although it is only the signage which is different colours, rather than the lifts themselves!).  On the ground floor, the blue lift is located off Gallery 10 (China to AD 800), and covers all floors except 3M.  The pink lift is in Gallery 16 (The Greek World), and covers all floors except 4.  The yellow lift is located in Gallery 23 (Dynastic Egypt and Nubia) and only covers -1, G, 2, and 3M.  All lifts have tactile buttons and audio information. 

Please note that Galleries 62-67 can only be accessed via the pink and yellow lifts.  To get to the special exhibitions space on floor 3, you must use the blue lift. 

The lifts can become very busy at peak times. If you experience difficulties in using the lifts please speak to a member of staff who will be happy to assist you. 

Please click on the thumbnail below to enlarge:
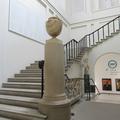
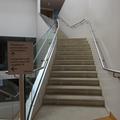
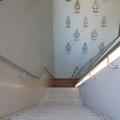
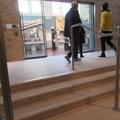
The stairs on the right-hand side of the building entrance have contrasting tactile nosings on the first few steps, and a handrail on the right-hand side (ascending), while other staircases have a handrail on both sides and contrasting tactile nosings.

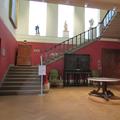
As with the lifts, different staircases lead to different galleries, and are colour coded for ease of reference. The blue staircase is the main atrium staircase, and links all floors; this is the most direct way to reach the restaurant and exhibition spaces. The pink staircase covers all floors except Level 4.  Information on where different staircases lead is clearly displayed at the top and bottom of the stairs.

The steps up to the cast gallery have handrails at regular intervals along their width, and contrasting tactile nosings.


Please click on the thumbnail below to enlarge:
The majority of doors around the museum are held open by magnets. There are a few automatic powered doors. Staff are on hand throughout the museum and will be happy to help if visitors need assistance with any of the doors.  

Access to the special exhibition space is through manual doors. Staff are always on hand to help if needed. 

Access to the lecture theatre is through large double doors which will be held open when an event is taking place. 


Please click on the thumbnail below to enlarge:
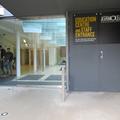
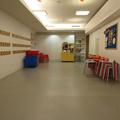
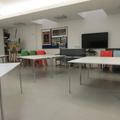
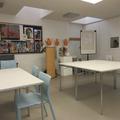
This is located on Level -1.  To get there, enter the museum through the St Giles entrance, and report to the security desk on the left-hand side. There are two teaching rooms in the Learning Centre, both of which are fully accessible and to the same specification, although one is slightly larger than the other, and the smaller one has a television screen available. Both have moveable tables and chairs (some with low backs), as well as hearing support systems.  The tables are a reasonable height for adult wheelchair users, and all doors are a suitable width. 


Please click on the thumbnail below to enlarge:
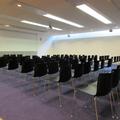
This is located on Level -1, next to the Café.  To get there, take the yellow lift, and the lecture theatre will be on the far side of the foyer.  There are moveable chairs, the AV is reachable from a wheelchair, and there is an induction loop fitted.  Lighting levels are good, and there is plenty of space to move around. 


Please click on the thumbnail below to enlarge:
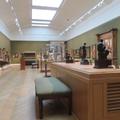
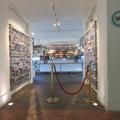
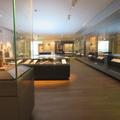
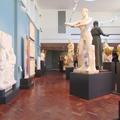
There is lift access to all floors, and all gallery spaces have level access. There is plenty of space between cases and around the edges of the galleries.  Each area of the museum usually consists of a large orientation gallery, with further galleries grouped around it which explore the subject in more detail.

Most of the items are shown on shelves in large vertical cases, although some of the items are displayed on tables.

The size of the information text available varies. There is large print information available on the walls of the orientation and art galleries, and medium sized printed information next to special exhibition pieces.  Some text inside the cases is small.

Most areas are well lit, but some galleries have low ambient lighting in order to preserve materials.

Almost all galleries have seating for visitors, although not all benches have backrests.

Please click on the thumbnails below to enlarge:

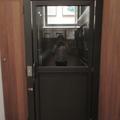
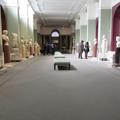
The cast gallery is accessed via a platform lift from Level 0. To get there, enter the museum and go past the information desk and through galleries 10 and 12. Once you reach gallery 13 ‘Rome’, the steps to the cast gallery are at the back. These have contrasting and tactile nosings, and handrails at intervals along their width. Go through the automatic doors at the top of the steps to reach the Cast Gallery. If you require level access, there is a platform lift at the left-hand side of the stairs. This has a powered door at the bottom, but a manual door at the top. Once inside the Cast Gallery, there is plenty of space to move around. There are information boards on the walls and by some exhibits, but the text is on the small side.


Please click on the thumbnail below to enlarge:
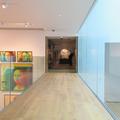
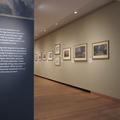
The exhibition galleries are located on the third floor.  To get there; take the blue lift or stairs.   There is plenty of space to circulate in the galleries, but be aware that it can be busy at peak times.   Items are displayed in a number of ways, and there is an information card beside each piece with medium-sized text.  There are benches available for visitors to sit on, although not all will have back and armrests.


Please click on the thumbnail below to enlarge:

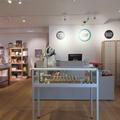
There are two shops in the museum: the main shop and the exhibition shop. The exhibition shop is located just outside of the main exhibition spaces. To get there, take the blue lift or stairs to level 3, and the shop area is on your right-hand side as you exit the lift. The main shop is on level -1. To get there, exit the yellow lift, and go through the cafe to the other side. Once in the cloakroom, turn right to reach the shop.

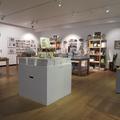
Both shops are spacious, although the main shop is a little more crowded, and taller shelves may be too high to reach for some. The exhibition shop counter has a reduced height section, but the main shop counter does not have one. 


Please click on the thumbnail below to enlarge:
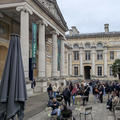
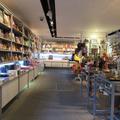
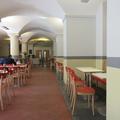
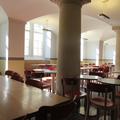
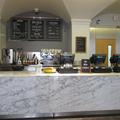
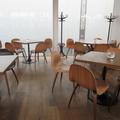
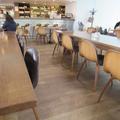
The café is located on level -1 and serves hot and cold food.  To get there, exit the yellow lift and go around the corner to your left.  As the café is in a basement space, there are pillars at regular intervals, and it can get very busy at peak times.  Furniture consists of a selection of café tables, benches and moveable chairs.  The pedestals of the tables may make it difficult for wheelchair users to reach them properly.  The servery is the height of a standard kitchen worktop, and wheelchair users may not be able to reach all of the items in the chiller cabinet. Café staff are happy to help, and will carry trays of food to tables if needed. 


Please click on the thumbnail below to enlarge:

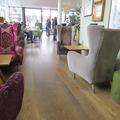
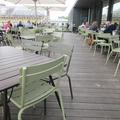
This is located on Level 4.  To get there, take the blue lift up to level 4.  The restaurant will be on your left.  There is a mixture of moveable chairs and fixed benches and the tables are a good height for wheelchair users.  There is plenty of space to move around the restaurant, and there is level access onto the terrace in good weather.


Please click on the thumbnail below to enlarge:
There is a fixed hearing loop located in the Headley Lecture Theatre.

There are two fixed loop systems in place at either end of the Information Desk. 

IMAGE GALLERY

Contact details


Ashmolean Museum
Beaumont Street
Oxford
OX1 2PH

visitorexperience@ashmus.ox.ac.uk
01865 278000
www.ashmolean.org

Contact the Access Guide


If you have feedback, would like to make a comment, report out of date information or request a change, please use the link below:
Feedback form